Heritage Auctions · Sale 7278 · Lot 89184
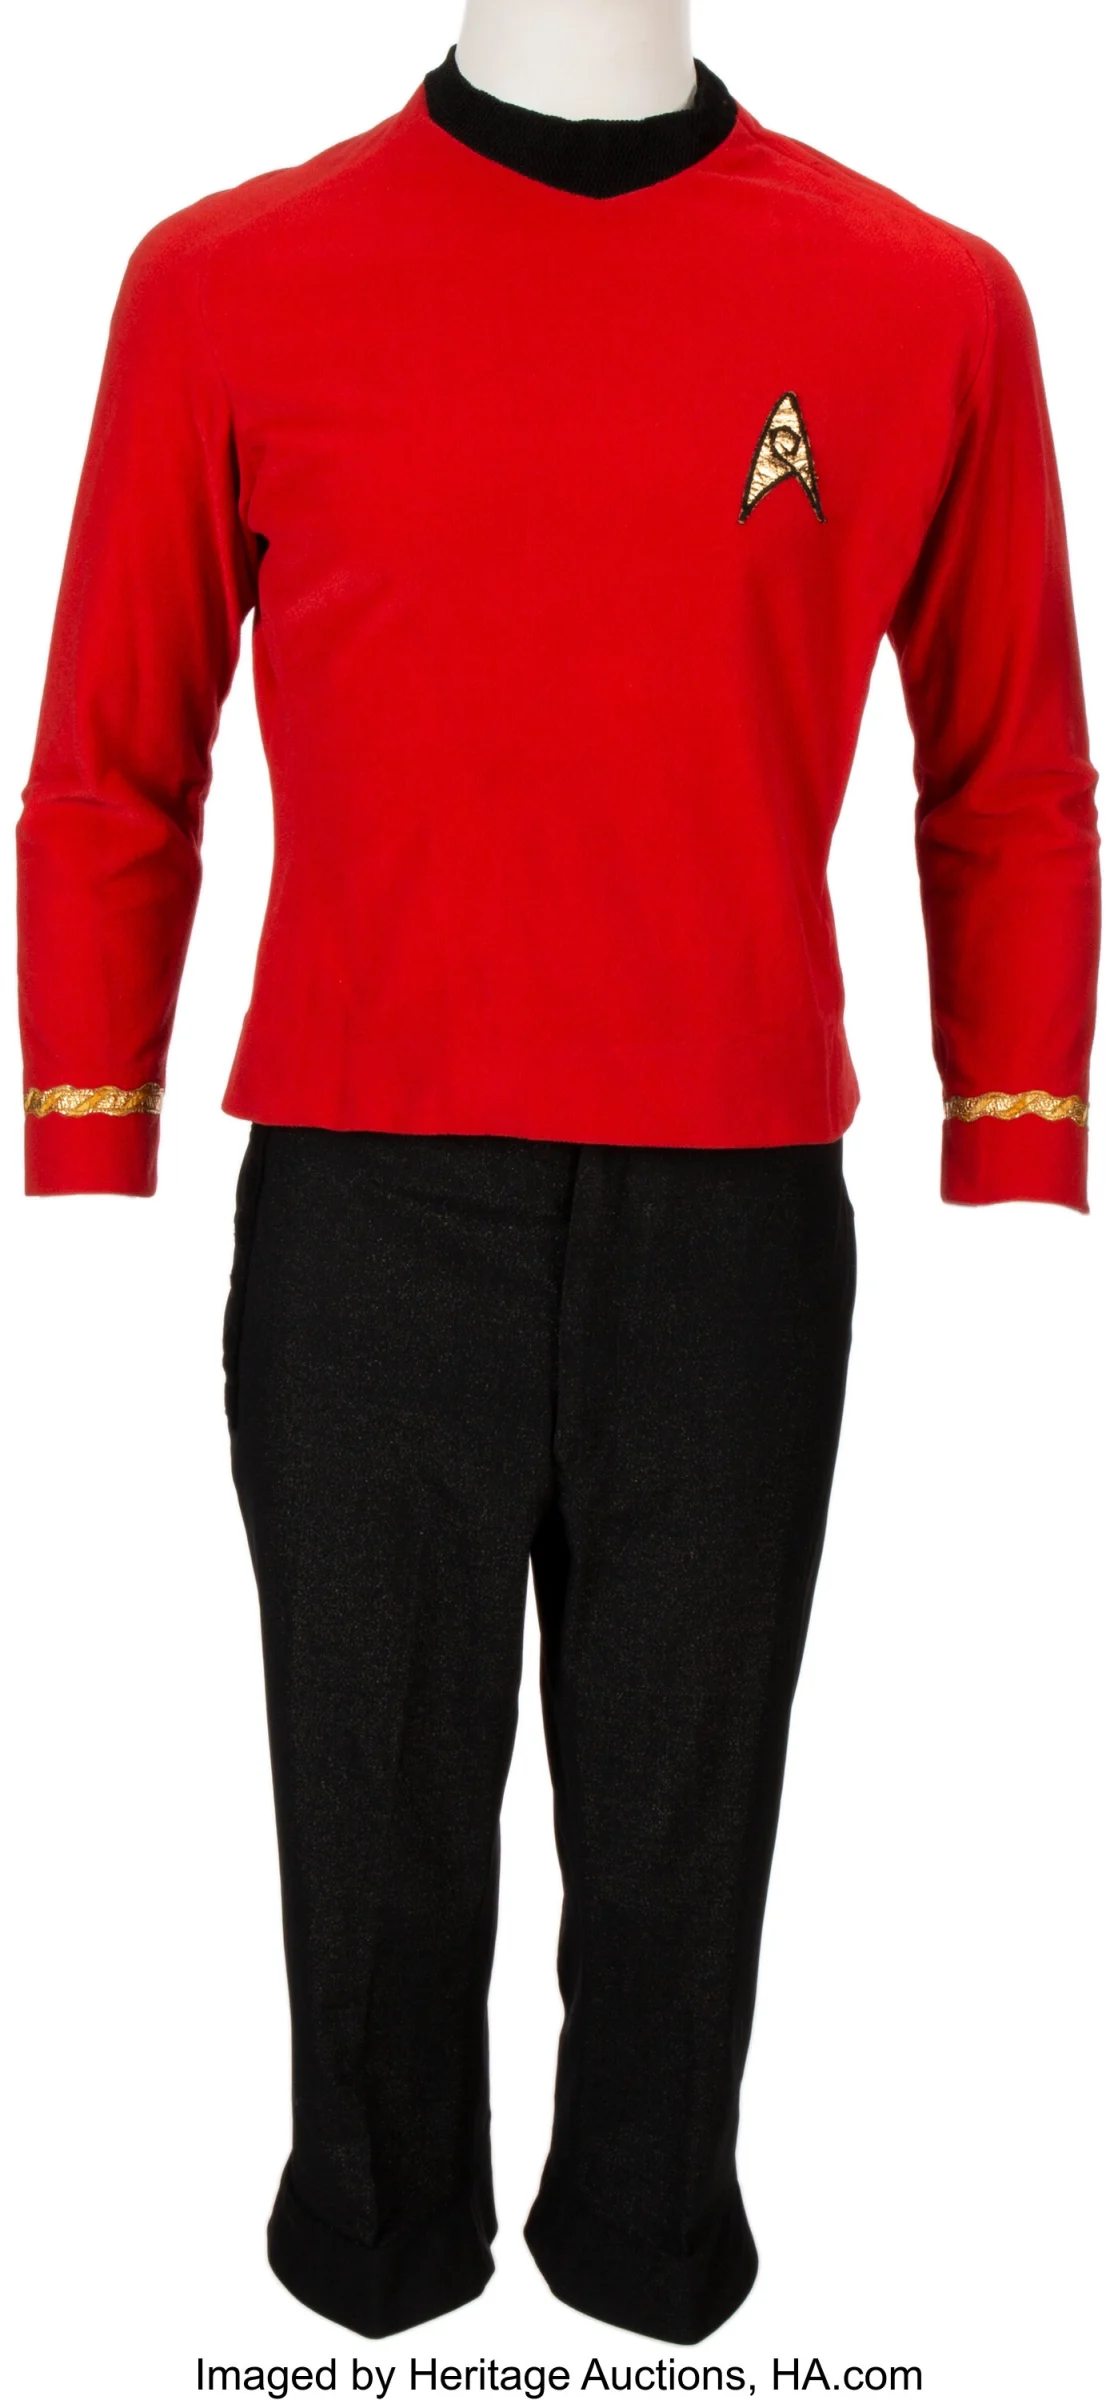
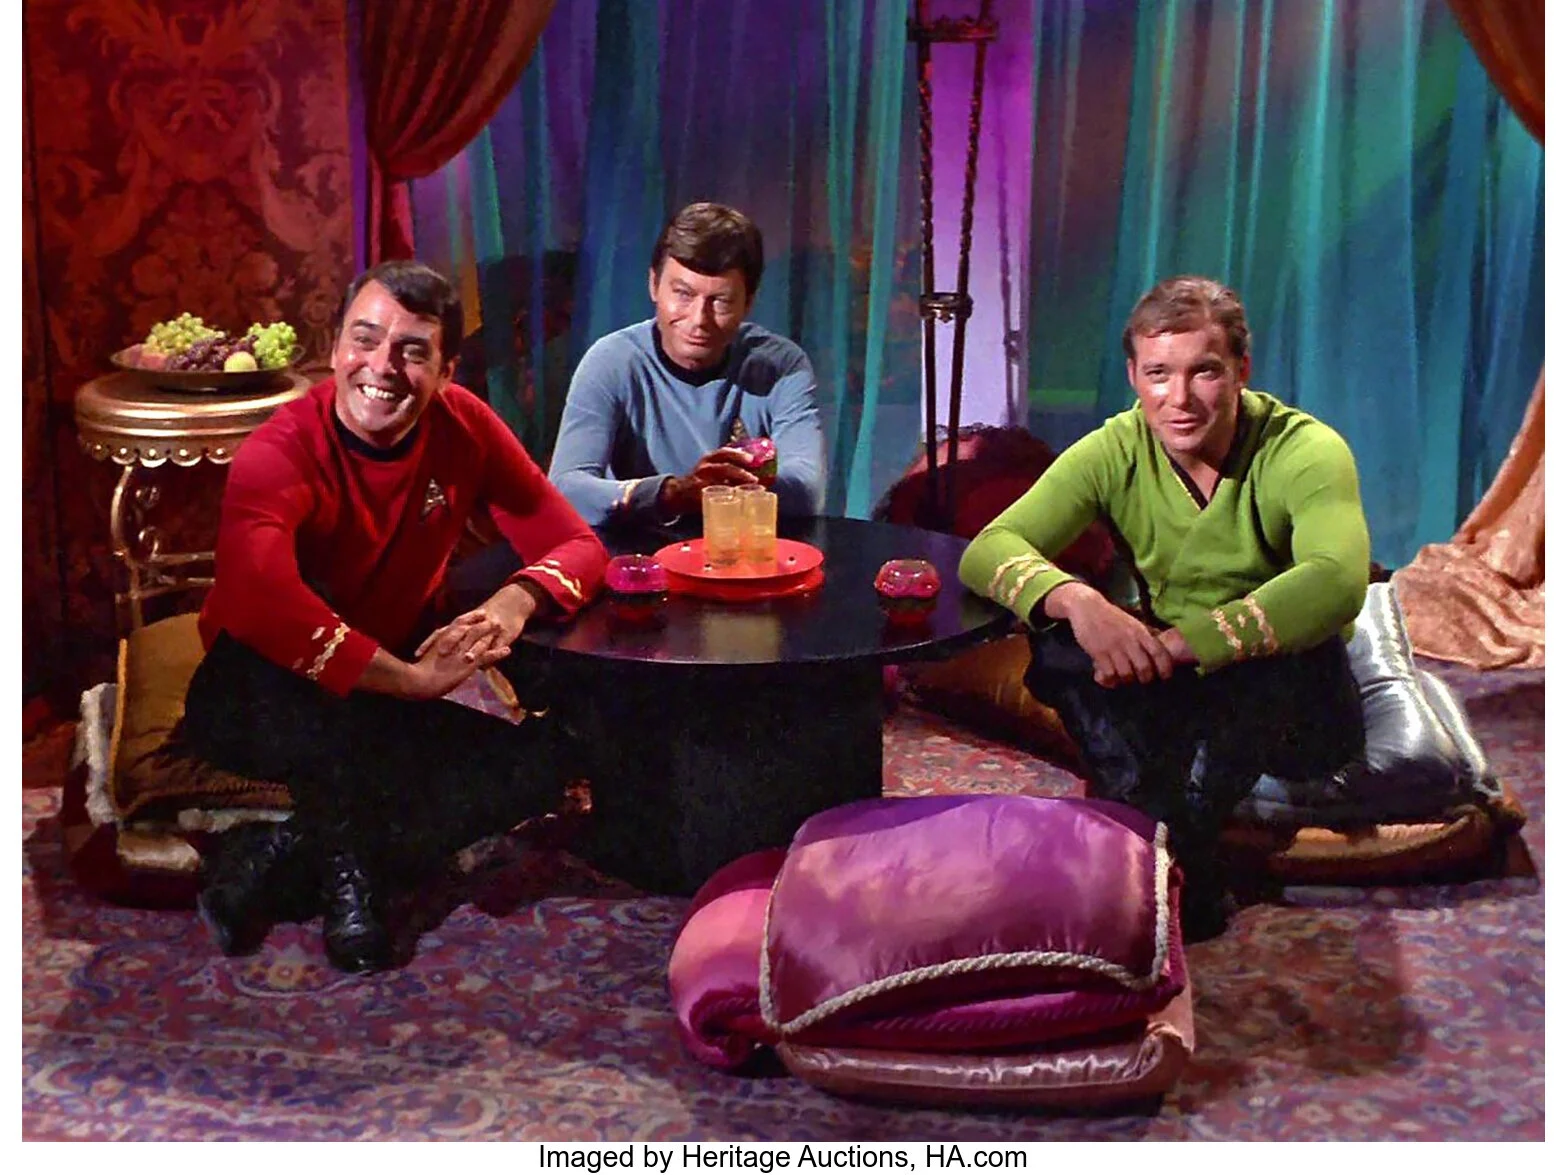
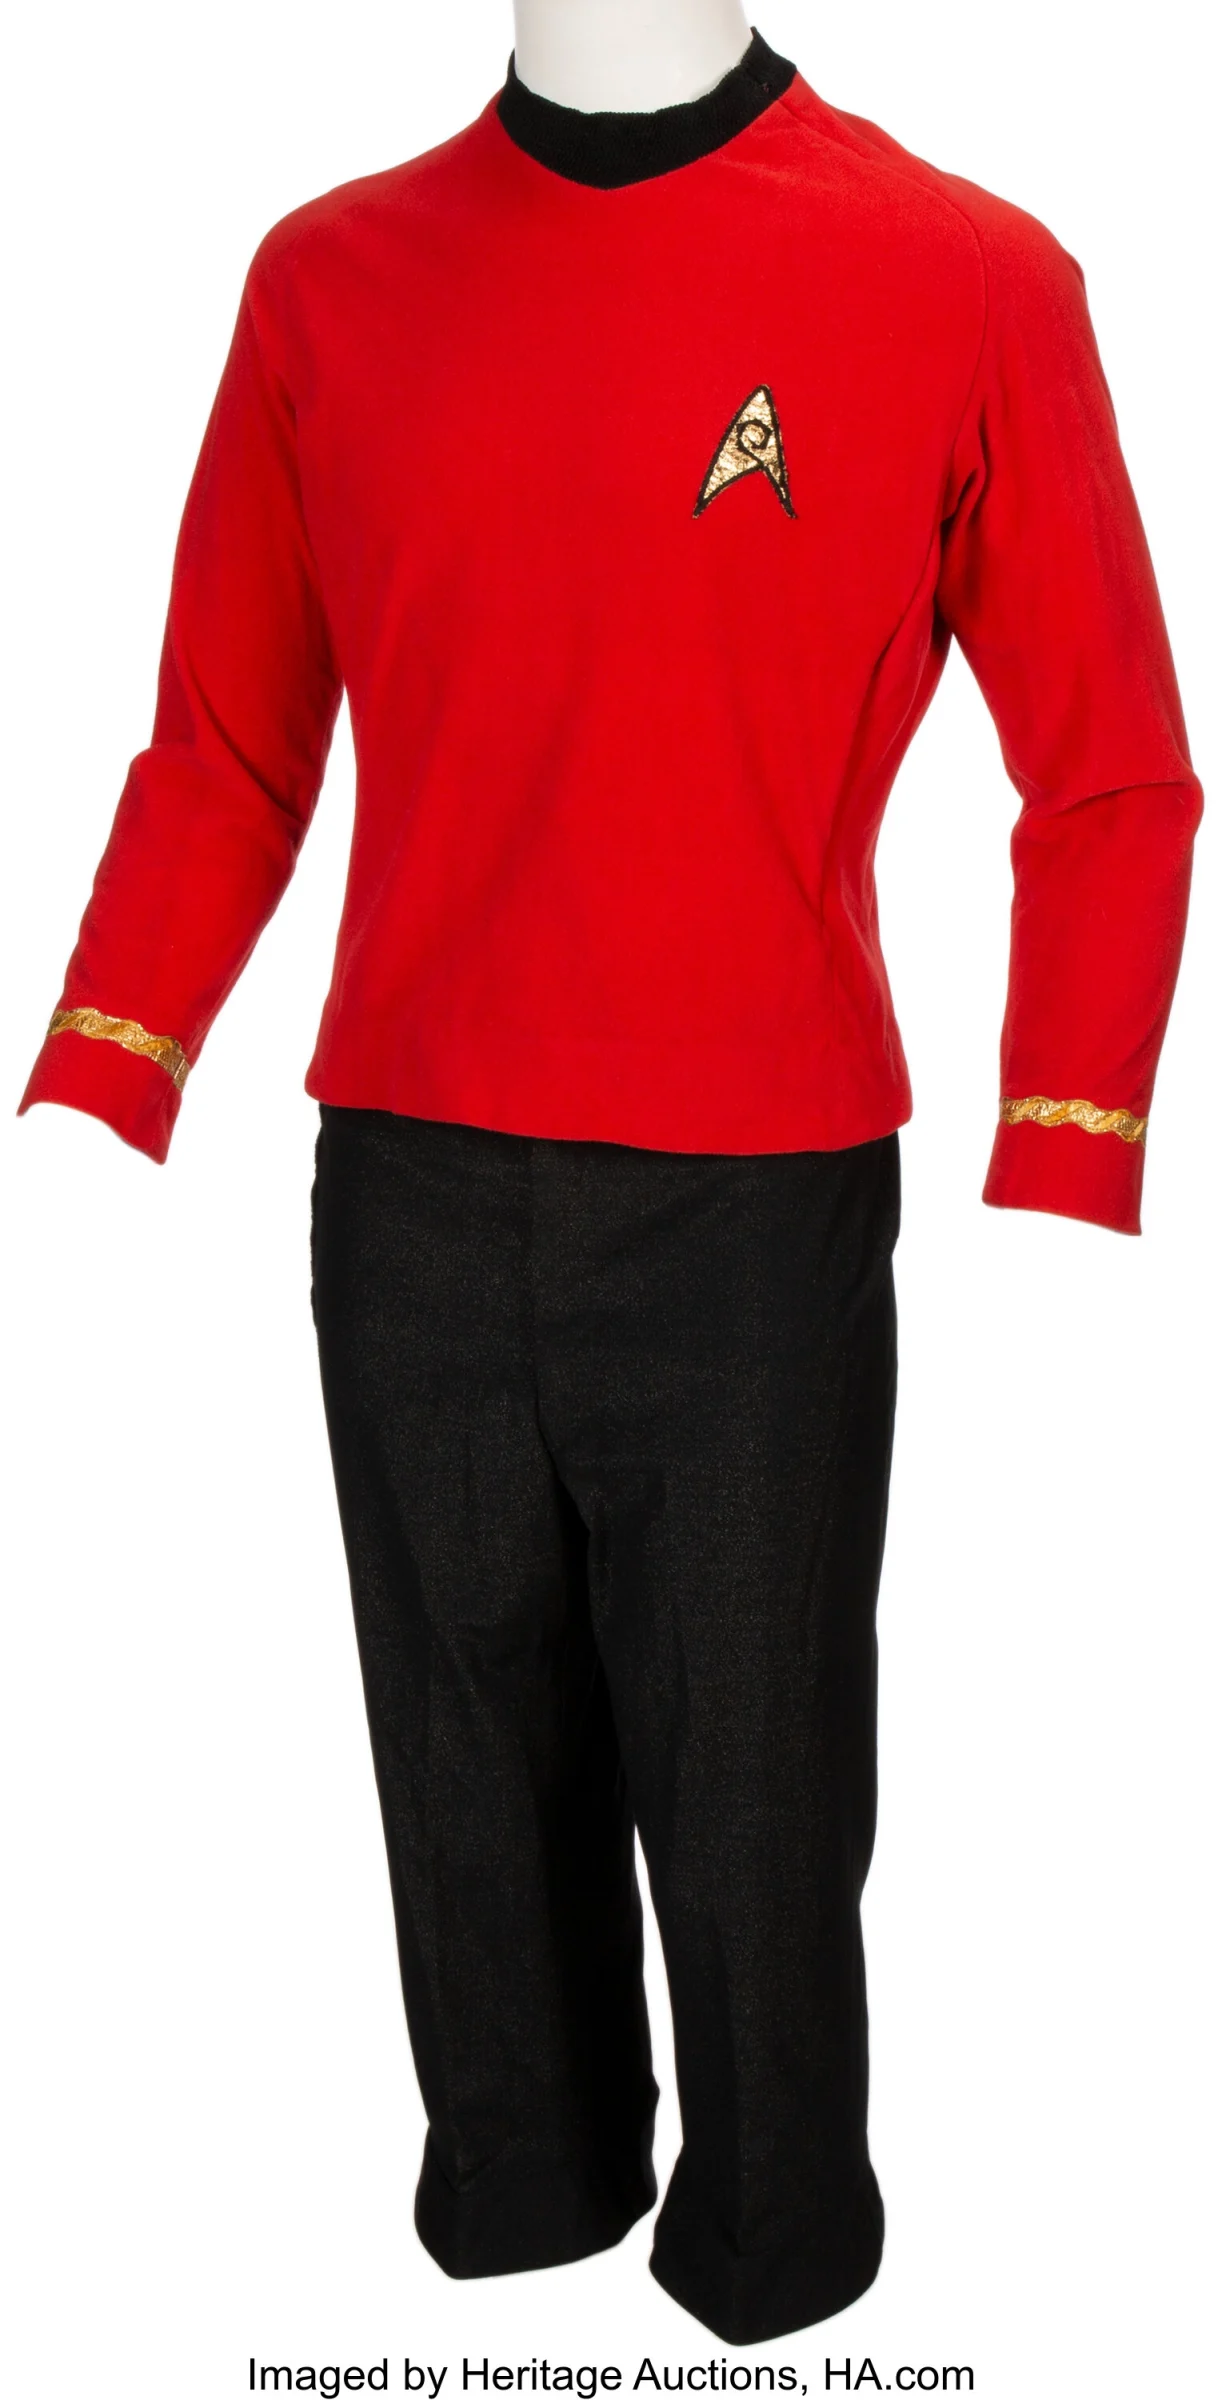
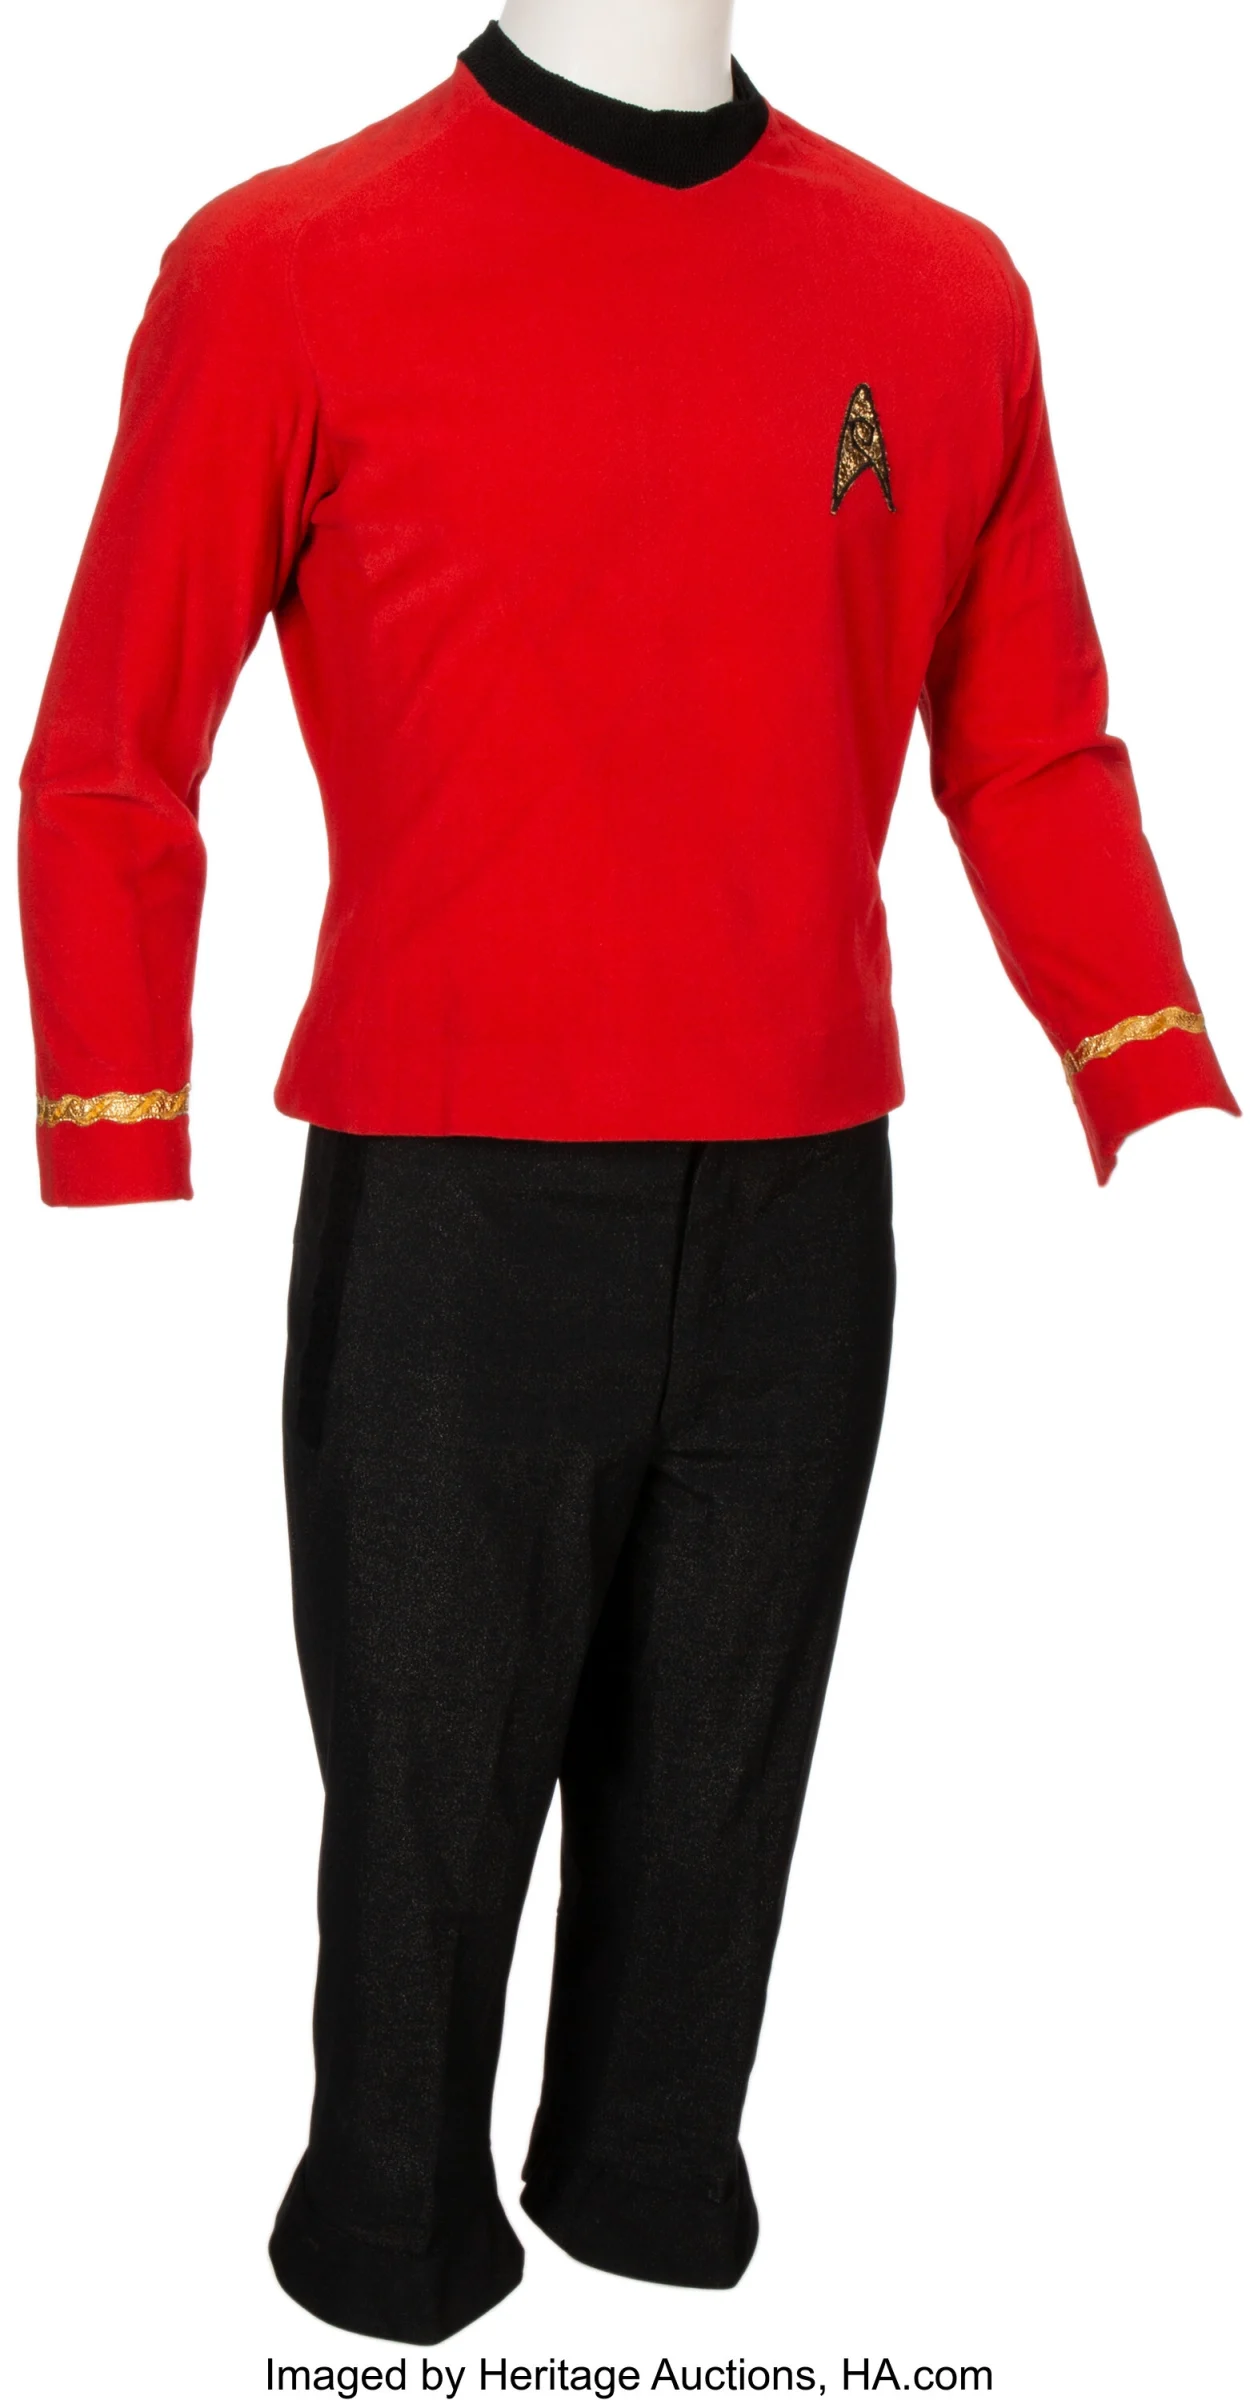
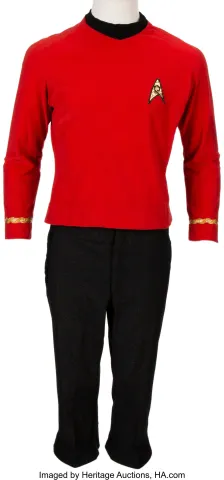
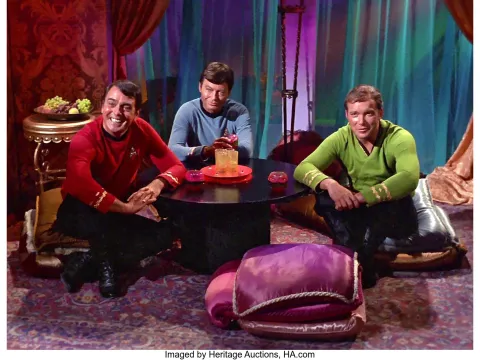
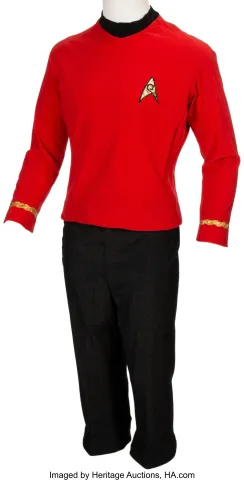
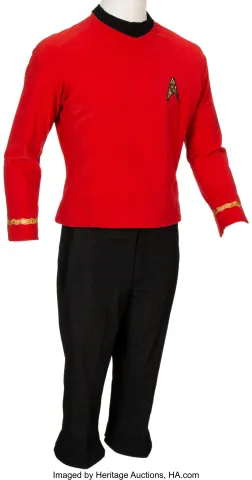
James Doohan "Scotty" Season 2 Starfleet (2) Tunic and Pants from Star Trek: The Original Series (Paramount TV, 1966-69).
How Heritage Auctions’s listing of this lot changed between the copies the archive took of it, newest first. Each revision shows what differs from the one before. The lot page shows the current listing.
-
Revision 2 (current)
Copied from Heritage Auctions Photographs
Photographs
-
 Added
-
-
 Added
-
-
-
-
Revision 1
Copied from Heritage Auctions · first recorded
Lot number
89184
Title
James Doohan "Scotty" Season 2 Starfleet (2) Tunic and Pants from Star Trek: The Original Series (Paramount TV, 1966-69).
Description
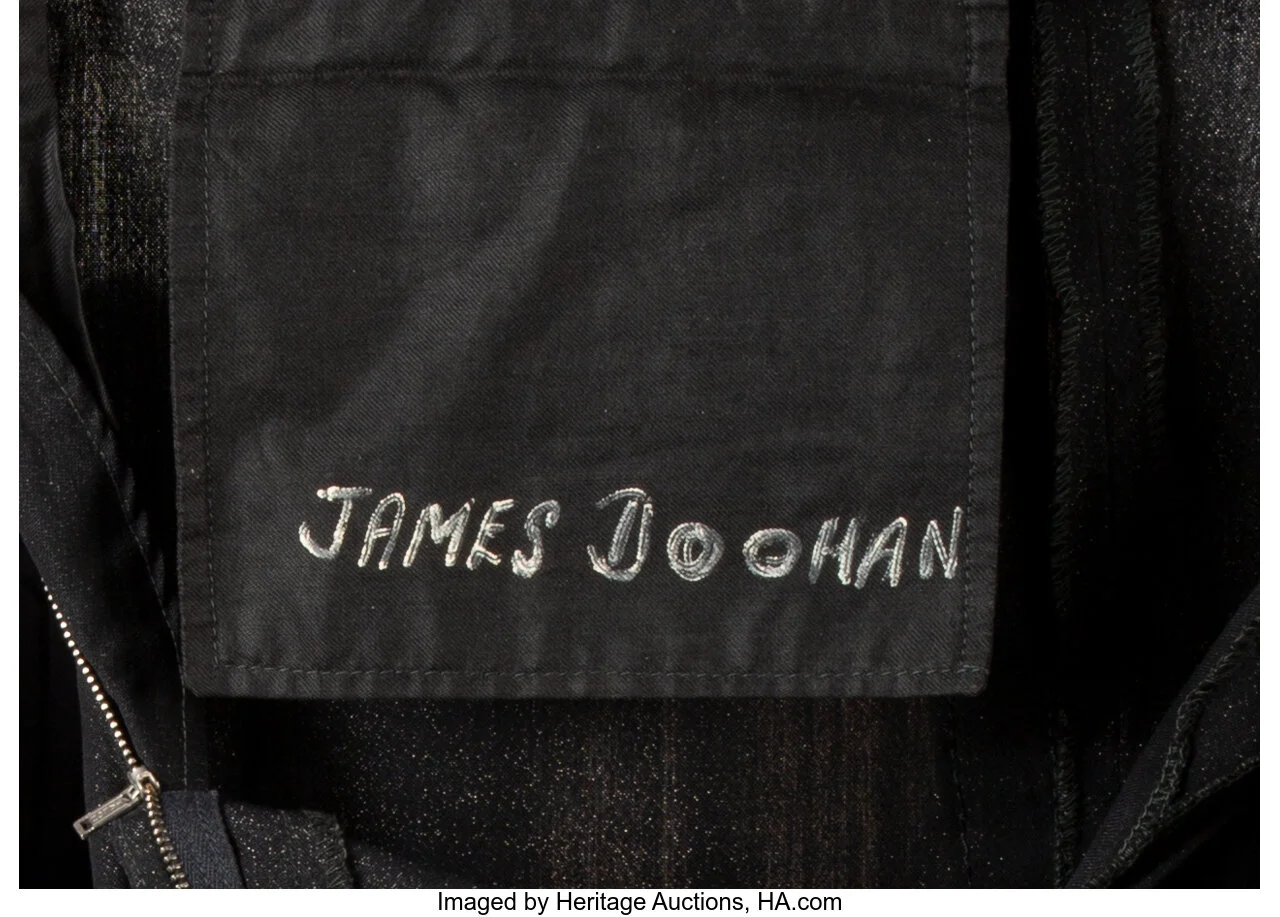
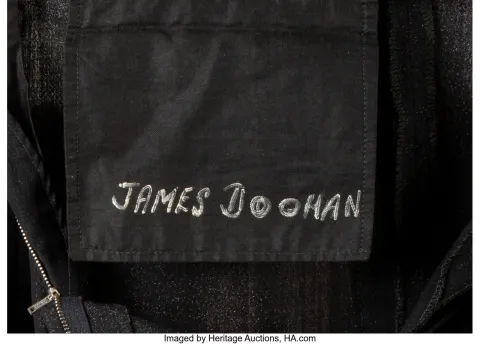
Vintage original (2) piece Starfleet uniform including (1) red velour tunic with cross-weave black polyester collar, long sleeves with single gold laminate rank braids around each cuff (faint impressions are present where the intermittent braid was removed following production), gold lamé Engineering patch affixed to left chest and unique left side, collar to waist, hidden zipper closure with hook and eye collar fastens. Includes interior Western Costume label typewritten "Doohan". Lot includes (1) pair of Dacron with silver sparkle fabric pants featuring short bellbottoms with open slit, pleated cuffs, 2-front waist pockets and zipper and hook and eye front closure. Interior pocket flap handwritten, "James Doohan." Exhibiting expected age, production use, loosened standing collar material with 2.25" seam separation on left shoulder. Hip velcro patches for attachment of hand props. Comes with a COA from Heritage Auctions. From the Collection of Greg Jein.
Result
Sold, $55,000
House listing
Photographs
-